
How to Disinfect Barber Tools: Between-Clients Guide
, by Buy Barber , 19 min reading time
, by Buy Barber , 19 min reading time
Get our professional-grade guide on how to disinfect barber tools between clients. Protect your shop and maintain high-performance clippers and shears today.
Dirty clippers and unwashed combs can spread dangerous infections between every client in your chair. Maintaining a sterile workspace is the mark of a true professional. Every service deserves a fresh start with tools that are truly clean.
Shop professional-grade barber tools and disinfectant supplies at wholesale prices at Buybarber.com.
How to disinfect barber tools means following a clear set of steps for cleaning and rinsing to make sure your gear is safe for use. You must first remove all hair and dirt with a brush or soap and water because grime can stop the spray from working well. Once the tools are clean, you should soak them in a strong liquid for ten minutes to kill harmful germs. A common mix of one part cleaner to sixteen parts water is best for most shops. According to the CDC, disinfecting uses chemicals to kill germs that stay on surfaces after the first wash. These steps will protect your clients and help your tools last for many years.
Many barbers treat cleaning like a chore, but it is the base of a good shop. Knowing the reasons for these rules will help you stay on track during a busy day. Let's look closer at Why Proper Disinfection Matters: More Than Just a Good Habit. The path begins with.
Professional barbering is built on trust. When a client sits in your chair, they expect a clean, safe experience. Learning proper clipper cleaning techniques is not just about keeping your gear shiny. It is the core of your professional duty. State boards set strict rules for shop hygiene to keep the public safe. Following these rules shows you are a pro who values your craft and your clients.
Clean tools prevent the spread of germs, fungi, and viruses. Skin-to-skin contact and shared tools can move infections from one person to the next. According to the CDC, disinfecting uses chemicals to kill harmful germs that remain on surfaces after cleaning. This step is vital for stopping the spread of staph, ringworm, or even more serious health risks. When you skip this, you put your shop and your clients at risk.
Past cases show how high the stakes can be. In 1921, a man named Michael F. Farley died because his barber used a brush that had anthrax on it. While modern shops have better tools, the lesson stays the same. Dirty tools lead to real health hazards. By using industry-standard disinfection protocols, you keep these risks out of your shop.
Disinfection is more than a quick wipe. It is a multi-step process that starts with cleaning. The CDC defines cleaning as the removal of soil and organic material from objects. You must remove hair and oils before you disinfect. If debris stays on the blade, the disinfectant cannot do its job well. This is why thorough cleaning is a must before you start the disinfection phase.
A clean shop also helps your business grow. Clients notice when you pull fresh, clean tools from a jar or use a spray between cuts. It builds a brand of quality and care. Using top professional clipper cleaning kits helps you stay consistent. High standards lead to happy clients who come back and tell their friends about your great service.
Daily care also helps your tools last longer. Hair, sweat, and skin cells can clog your clippers and dull your blades. Over time, this buildup causes friction and heat. This can ruin the motor or hurt the client's skin. When you clean and disinfect daily, you remove these harmful materials. It keeps your gear running smooth and sharp for every cut.
Proper care also protects your wallet. Professional tools like Andis or Wahl clippers are a big investment. By keeping them clean, you avoid the cost of early repairs or new parts. It is a simple way to get the most value out of your equipment. A little time spent on care each day saves you money and stress in the long run.
Every barber needs to know the gap between cleaning and killing germs. These steps may look the same, but they do very different jobs. You must clean your tools before you can disinfect them. If you skip a step, you put your clients and your shop at risk. Knowing proper salon and barbershop sanitation rules helps you keep a safe and legal shop.
Cleaning is the act of removing hair and dirt from your tools. This step uses water and soap or special cleaners. As the CDC says, cleaning gets rid of things like oils and soil. It is the main part of tool care. You cannot skip this part because germs can hide under small bits of hair or skin.
If you do not clean first, the chemicals will not work well. Dirt can block the liquids from touching the metal on your blades. You should learn the right way to clean clippers to make sure your tools are ready for the next step. Clean tools also last longer and run better during the day.
Sanitizing and disinfecting are not the same thing. Sanitizing reduces the number of germs to a safe level. This is often done after you clean the tool. It makes the tool safe for use, but it does not kill all germs. Most state boards want you to go a step further for your shears and combs.
Disinfecting uses strong chemicals to kill almost all harmful germs on a surface. This is a key part of how to disinfect barber tools in a busy shop. The CDC notes that disinfecting kills germs that stay behind after you clean. You must let the tools soak for the right amount of time to make sure all germs die.
High-end shops use a clear plan for every tool. This keeps the gear in top shape and protects the people in the chair. You must follow the rules for mixing and soak times to stay safe. Using a table can help you see which way to use for each task during your day.
| Method | Primary Goal | Key Action |
|---|---|---|
| Cleaning. | Remove dirt. | Wash with soap and water. |
| Sanitizing. | Lower germ count. | Apply spray or wipes. |
| Disinfecting. | Kill germs. | Soak in chemicals. |
A regular habit is what builds trust with your clients. They want to see that you take their health very much to heart. By using the right steps, you show that you are an expert who cares about the trade. This routine also saves you money by preventing rust and wear on your costly tools.
A clean shop is the sign of a true pro. When you learn our guide to mixing Barbicide, you keep your shop safe. High-volume shops move fast, so your work needs to be quick but full. You should not skip any steps when it comes to health. If you use dirty tools, you risk spreading skin germs or bugs. This can hurt your name and your shop. Taking the time to do this right shows your clients that you care about their safety.
Many people think these two words mean the same thing. But they are two parts of a good shop plan. Cleaning is the first step where you get rid of hair and dust. You often use water and soap for this task. It is a key part of shop care because it lets the next step work. Killing germs is when you use strong liquids to destroy what stays behind. You should always clean a tool before you try to kill the germs on it. This makes sure the liquid can reach the tool surface.
Follow these steps for all your tools that do not use power. This includes your combs, guards, and shears. Keeping a jar of blue liquid on your station is a classic barber move. But you must use it the right way to get the best results for your gear. It is the best way to keep your tools ready for the next cut.
Clippers and trimmers need a slightly different plan. Since they use power, you cannot dunk them in water. Use a spray made for barber tools to clean them fast between cuts. Turn the tool on and spray the blades to help move hair out from the teeth. This is a big part of proper clipper cleaning techniques. After you spray, wipe the body of the tool with a fresh wipe to keep it looking new. This helps your tools run cool and quiet.
One big mistake is taking tools out of the liquid too soon. Most shop liquids need time to work well. This is often called contact time. You must let the tools soak for the full time shown on the label. This is often about ten minutes for most products. If you take them out early, the germs might stay alive. This can lead to skin issues for your clients. Plan your work so you have enough tools to swap them out while some soak in the jar.
Always check your tools for any damage as you clean them. Look for chipped teeth on blades or dull spots on your shears. This is the best time to find small problems before they pull a client's hair. Using safe cleaning methods makes a good space for everyone. Keeping your gear in top shape also saves you money on new parts. It keeps your cuts clean and your clients happy to come back to your chair for years to come.
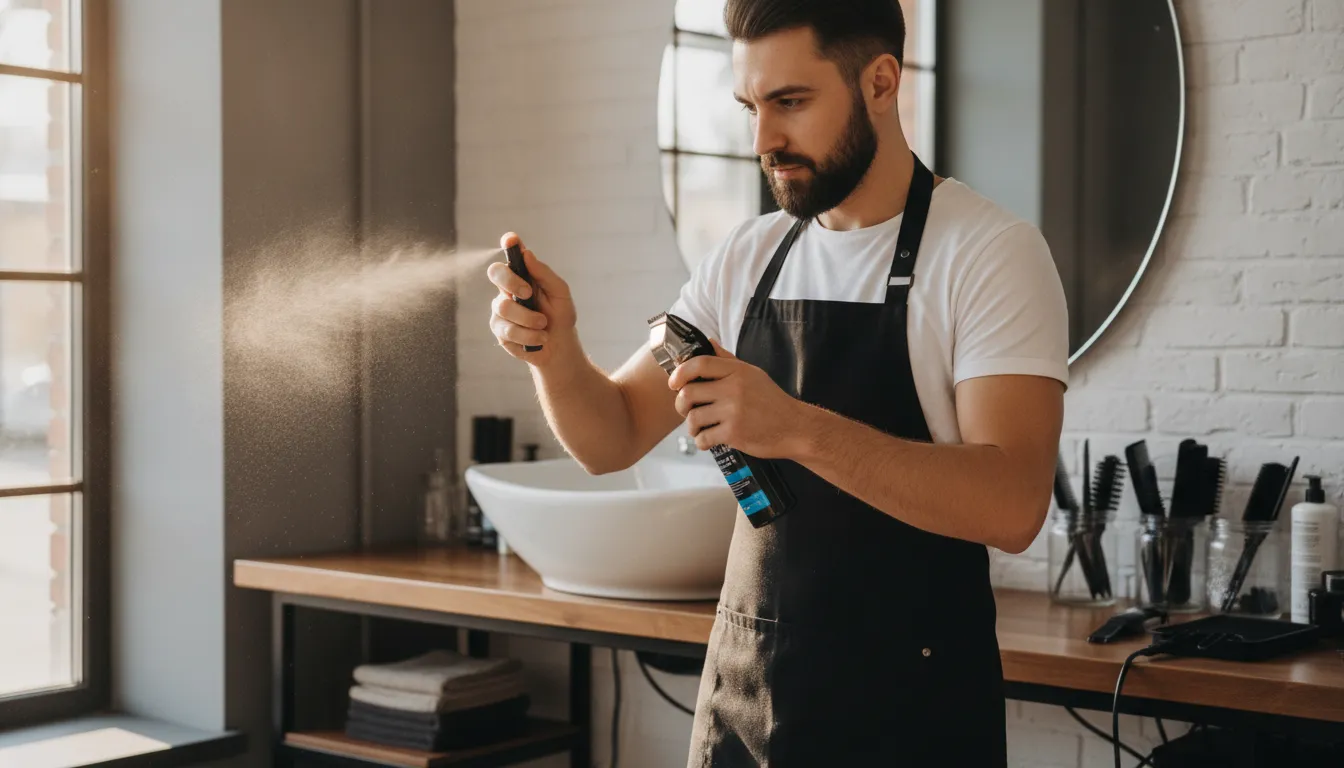
Keeping your clippers clean is the first step in a professional barber workflow. According to the CDC, cleaning involves removing soil and other materials from your tools. You should use proper clipper cleaning techniques to clear away hair and debris before you move to deep disinfection. This helps ensure that your sprays and oils work as they should to keep your gear in top shape.
You must start by getting rid of all loose hair. Use a small brush or a soft cloth to sweep away clippings from the blade area. It is best to do this after every cut to keep hair from building up in the motor. For a deeper clean, you can use a can of compressed air to blow out fine dust from the tight spots between the teeth. This simple move stops hair from clogging the tool and keeps the blades moving fast.
Once the blades are clear, you need to use a cleaner to handle the germs. You can use a cooling spray to quickly lower the blade heat and clean the surface at the same time. If you have more time, a shallow dip in a blade wash is a great choice. This liquid gets into the small gaps to lift away grime and old oil. Many pros use clipper cleaning kits that include these washes to maintain their best tools.
Clean blades need oil to run smoothly and stay sharp. Put a few drops of oil on the tips of the blades and along the sides of the rail. Turn the clipper on for a few seconds to let the oil spread through the moving parts. Wipe off any extra oil with a clean cloth so it does not drip onto your next client. This step protects the metal from rust and reduces the heat caused by friction during a busy day at the shop.
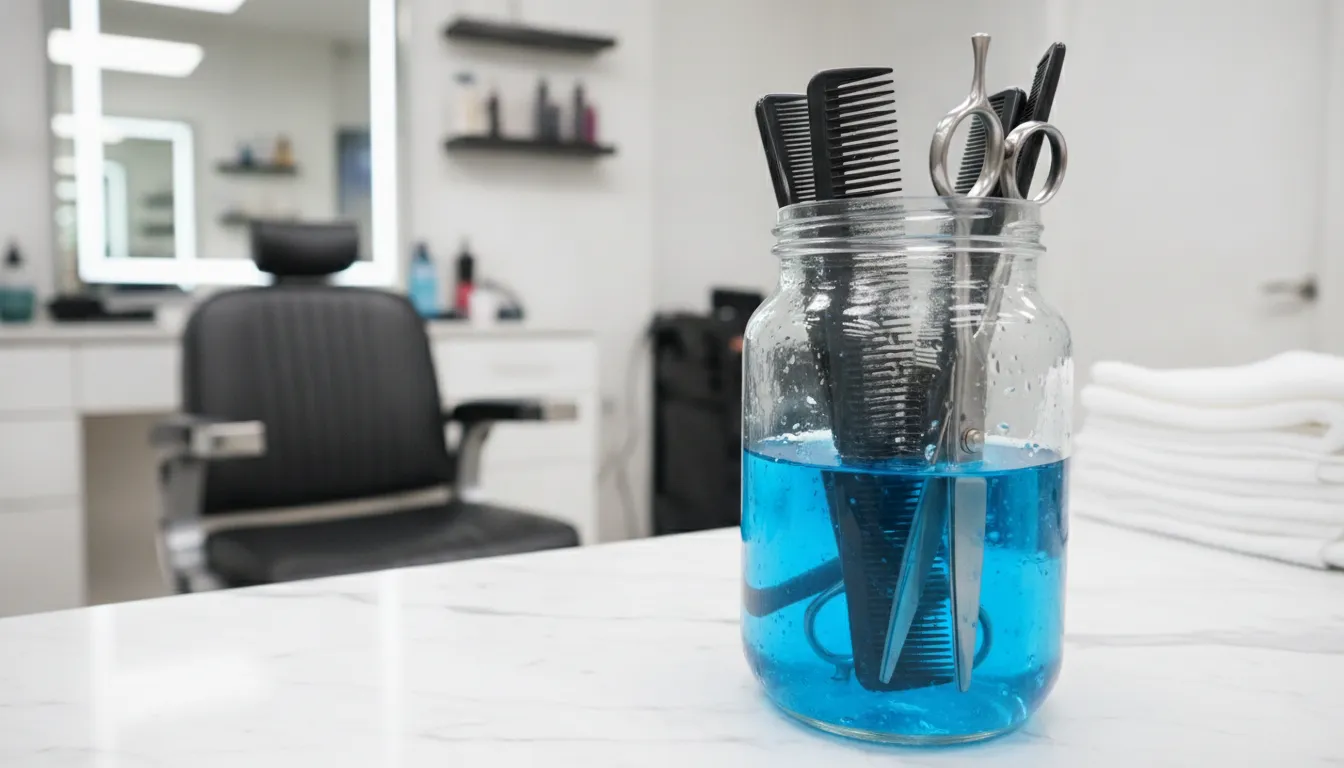
Mixing your cleaning liquid the right way is a key skill for any shop. You need the right strength to kill germs and keep your gear safe. Using too much water makes the mix weak, but using too much concentrate can damage your tools. Knowing how to disinfect barber tools starts with a clean jar and the right math.
Most shops use a standard mix to keep things safe. The usual ratio is 1:16. This means you should mix 2 oz of concentrate into 32 oz of water. You can find more details in our established barber sanitation guides. Use a cup with marks to be sure you have the right amounts each time.
Always add the water to your jar first. Then, pour the concentrate into the water. Doing this stops the soap from making too many bubbles. If you get too much foam, you might not see the tools you put in the jar. A clear mix helps you work fast and stay safe during a busy shift.
You must clean your gear before you soak it. Soil or hair on a blade can stop the liquid from working well. The CDC notes that thorough cleaning is needed before you disinfect. Use a stiff brush to remove all hair and debris from your clippers and combs first.
Once the tools are clean, place them in the mix. Make sure the liquid covers all parts of the tool. You should let them soak for ten minutes to kill all germs. This wait time is vital to make sure the tools are safe for your next client. Rushing this step can leave germs behind and put people at risk.
Change your solution every day to keep it fresh. If the liquid looks cloudy or has hair floating in it, dump it out and start over. A dirty jar will not kill germs well. Keeping a fresh batch helps your tools stay in top shape and last a long time. It also shows your clients that you care about their health.
Proper care keeps your blades sharp and free of rust. When you follow these steps, you protect both your gear and your shop's name. Professional tools are a big cost, so treat them with care by using the right mix every single day.
Keeping tools clean is a key part of being a trusted barber. But many pros make small errors that can lead to big issues. Learning how to disinfect barber tools the right way helps keep your clients safe and your gear in top shape. Using top professional clipper cleaning kits is a good start, but you must use them correctly.
One common mistake is trying to disinfect a tool that is still dirty. Thorough cleaning is needed before you use any chemicals. This is because hair, skin, and oil can block the disinfectant from reaching the surface of the tool. If debris stays on the blade, the germs under it might survive. Always wipe or brush away dirt first to ensure the process works as it should.
Many barbers do not leave their tools in the solution long enough. Most professional liquids need at least ten minutes of contact time to kill all harmful germs. Simply dipping a comb or shear and taking it right back out is not enough to truly sanitize the item. To follow professional-grade tool disinfection protocols, you must let the tools soak for the full time listed on the label. Moving too fast puts your clients at risk of infection.
Using a disinfectant jar for too many days is another risk. The liquid loses its power as it gets old or filled with debris. You should change the solution daily or whenever it looks cloudy. Also, make sure you mix the liquid with the right amount of water. A common ratio for shop use is one part concentrate to sixteen parts water. Using the wrong mix can either damage your tools or fail to kill the germs you are targeting.
Disinfectants can be harsh on metal parts. A common mistake is not oiling clippers and trimmers after they get wet or sit in a dip. Without oil, the metal can rust or become dull over time. Regular oiling helps the blades move smoothly and stay sharp for longer. For the best results, use essential clipper maintenance tools to keep your gear working well after every deep clean.
Yes. State laws in most areas need barbers to kill germs on all hard tools after each use. This practice stops the spread of skin issues and bugs. According to the CDC, killing germs with chemicals helps keep parts safe after you clean them. Proper care keeps your shop legal and safe for every client. Following these rules shows you are a pro who cares about health.
You should kill germs on your clippers and shears after every single cut. This is a key part of shop care. As of 2026, keeping your gear clean is a big part of being a high-quality barber. You must use a spray or a soak to kill germs before the next person sits in your chair. Regular care also helps your tools stay sharp and run smooth. It protects your gear and your clients at the same time.
Yes, you must kill germs on any tool that touches a client. This includes plastic guards and combs. Many people think only metal blades need a soak, but germs can live on any hard part. You should wash these items with soap and water first to remove hair and oils. Then, soak them in a disinfectant liquid for ten minutes. This ensures all your tools are safe to use for the next cut.
After you clean and dry your clippers, you should put on a few drops of oil. Turn the tool on and put three drops of oil across the top of the blades. Let it run for a few seconds so the oil can coat the metal. This reduces heat and rubbing during the cut. Using a regular care plan helps your clippers last much longer. Always wipe off any extra oil before you use the tool on a client.
Skipping proper tool care leads to dull blades and safety risks for your clients. Using the right cleaning steps now helps your gear last longer and keeps your shop up to code. You can save money and avoid gear failure by getting the best supplies for your station today. Having the right tools on hand means you never have to turn a client away due to a dirty kit. Proper hygiene also builds trust and keeps people coming back to your chair for years. Shop our selection of top-rated cleaners and disinfectants to keep your business running smooth and safe. Professional shops need tools that stay sharp and clean through every shift.
Ready to shop premium professional barber tools at wholesale prices? Shop our full collection to get professional-grade gear for your shop.


