

How to Zero Gap Hair Clippers Safely: A Pro Walkthrough
, by Buy Barber , 17 min reading time
, by Buy Barber , 17 min reading time
Schedule a free consultation today. Shop professional clippers at BuyBarber and learn how to zero gap hair clippers safely with this complete barber's guide...
A single millimeter of blade misalignment can turn a smooth fade into a painful client injury.How to zero gap hair clippers involves aligning the moving cutting blade flush with the fixed guard blade to remove the gap between them. This precise setup helps professional barbers get the closest cut possible without using a foil shaver or straight razor. By closing the space between blades, you can create sharp lineups, crisp beard outlines, and clean hairline work for skin fades. The golden rule is that safe exposure is always more important than maximum exposure. While this change makes cutting faster, it needs careful setup to ensure the cutting teeth never overlap the guard blade. If the blades overlap by even a tiny bit, they can scratch, irritate, or nick a client's skin. Properly set tools provide a smooth, clean feel while keeping high speed in the shop.
Shop Professional Clippers → Get the right tools for precise zero-gap adjustment and cleaner fades.
Before you reach for a screwdriver and start loosening screws, you must understand the basics of this tool change. Knowing how blade setup works helps you avoid common mistakes that lead to tool damage or skin irritation. Understanding exactly what zero gapping means is the first step toward using your tools safely.Zero gapping is a technique where a barber adjusts the two blades of a clipper so they sit flush. All hair clippers use two main parts to cut hair: a fixed guard blade on the bottom and a moving cutting blade on top. In most cases, there is a small gap between these two parts as a safety buffer that keeps the sharp teeth away from the skin.
When you learn how to adjust hair clippers for zero gapping, you move the cutting blade forward until the teeth of both blades align. This eliminates the space that prevents an ultra-close cut. Getting this right takes practice, but the payoff is a level of precision that sets professional work apart from amateur results.
Setting the blades is the foundation of a top-tier cut. Most stock tools come with a factory gap of 0.5mm to 1mm. This is adequate for general use, but it limits your reach for fine detail work. By closing this gap, you turn a standard tool into a precision instrument for your shop.
This shift allows the teeth to grab hair right at the skin line. It gives you more control over the final look. Many pros find that this setup delivers a cleaner finish on any hair type. It is a simple mechanical change that yields professional results every time you pick up your clippers.
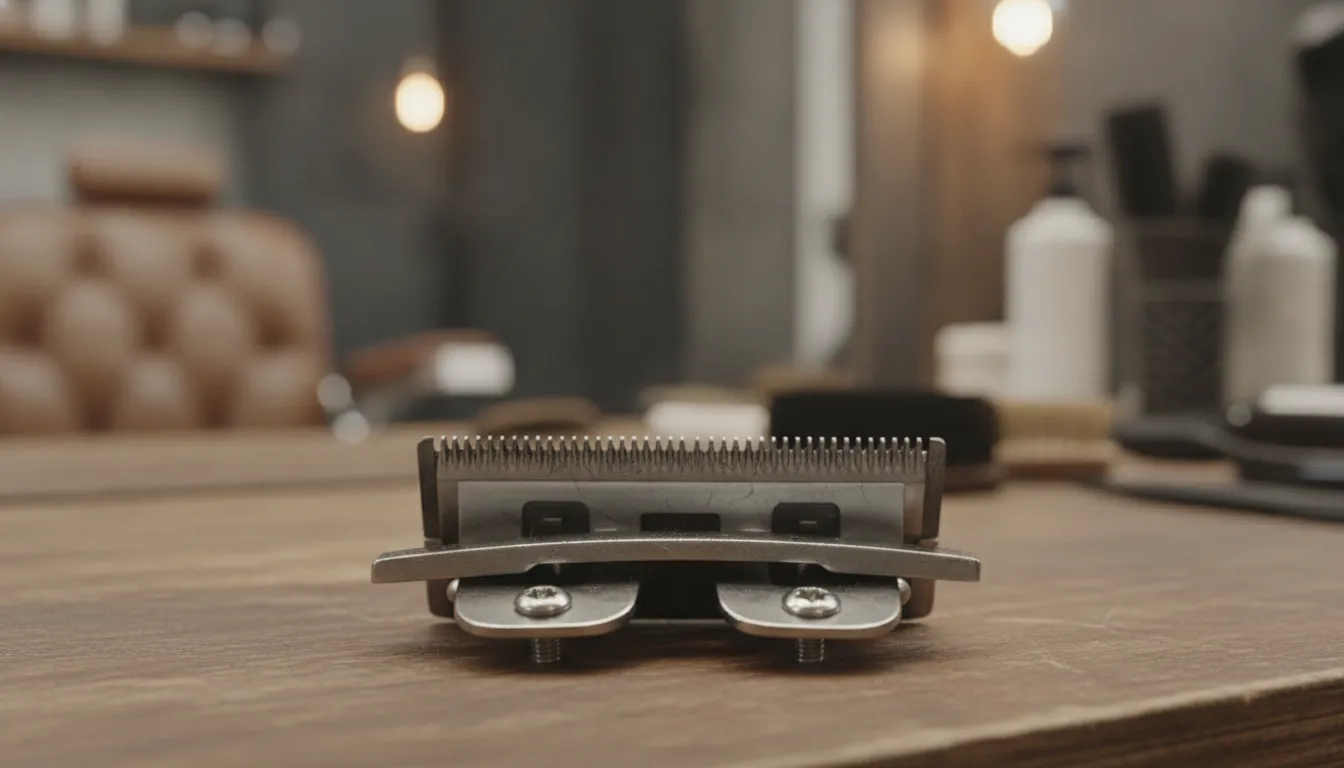
The main reason barbers use this blade setup is precision. When the blades sit flush, they cut hair much shorter than a stock set can. This makes zero gapping essential for sharp lines, clean beard edges, and fine detail work around the hairline.
For many pros, this technique delivers the closest possible cut without switching to a razor or foil shaver. It allows you to work faster while achieving the look your clients expect. Here are the main benefits:
A zero-gap setup helps the clipper perform better on every pass. The closer the two blades sit, the closer the cut will be. This makes it easier to blend skin fades and clear away bulk hair in less time.
But you must be careful when setting the blades. Never let the moving blade extend past the guard blade. If the cutting teeth protrude too far, they will scratch or nick the skin. Using high-quality professional clippers and replacement clipper blades makes this task much easier and safer. Always test your tools on your own arm first to confirm they are safe for clients.
Zero-gapping your tools offers clear advantages for any barber. When you align the blades flush, you gain more control over your work. This small adjustment helps you cut with greater precision on every client.
One major benefit of zero-gapped blades is the ability to execute skin fades with ease. You can cut hair right at skin level without switching to a foil shaver or razor. This saves time and delivers a smooth, clean finish that clients appreciate.
Removing the blade gap lets you achieve the closest possible cut on the head or face. This level of closeness is essential for styles that require a bald finish. You can work through a fade without changing tools mid-service.
Want sharp lineups and crisp beard outlines? Zero-gapped trimmers deliver the clean, deep lines that clients notice. The tight blade gap lets you hit a straight edge in a single pass. This setup also improves visibility during detail work because you can see exactly where the cutting edge meets the skin.
Shop professional clippers at BuyBarber that support zero-gap adjustment for these tasks.
Many barbers find that zero-gapping prevents hair from snagging between the blades. When the gap is closed, hair does not get trapped as often. This helps the motor run smoothly and reduces pulling. This adjustment may also extend blade life by reducing uneven wear. To keep your tools in top condition, follow a regular barber clipper maintenance routine.
You do not need an extensive toolbox to learn how to zero gap hair clippers. A few simple items are all it takes to achieve that sharp finish safely. Having the right tools on hand makes the process quick and prevents damage to your blades.
The essential tool is a small screwdriver. The screw size varies by clipper model, so check your specific tool before starting. You will also need a stiff brush to clear away hair and debris from the blades. Keeping your tools clean is a basic safety rule for any barbershop.
Once the blades are set, apply a quality blade oil. Oil reduces friction and keeps the motor running smoothly. You can find professional clipper oil and maintenance supplies at BuyBarber. A few drops after each adjustment will keep your tools ready for the next fade.
Some top brands offer specialized tools to help you get a perfect gap without guesswork. The Wahl pro-set tool helps align their blades precisely. BaBylissPRO includes a dedicated zero-gap tool for the T45 trimmer. These tools hold the blades in position while you tighten the screws, preventing the blade from shifting out of alignment.
StyleCraft often includes a zero-gap tool in the box with new clippers. Using these brand-specific accessories lowers the risk of the cutting blade extending too far. These tools help you find the optimal position for a close cut while keeping your clients safe.
Sometimes old blades are too worn to hold a zero gap reliably. In those cases, it is best to purchase new replacement blades and blade slides. Some models, like the Wahl 1919, use a three-hole slide that may need to be swapped for a two-hole part to allow a true zero gap. BuyBarber stocks parts for all major brands including Andis, Wahl, and JRL.
Buying from a trusted supplier ensures the parts fit and perform correctly. BuyBarber offers free shipping on orders over $50 within the continental U.S. and a 365-day return policy, making it easy to test new gear.
Zero gapping requires focus and a steady hand. The primary goal is achieving a close cut while keeping the skin safe. If you set the blade too far forward, the sharp teeth will scratch or nick your client. Follow each step carefully to reach the best results for skin fades and crisp lines. A proper zero gap leaves no gap at all, but the cutting blade must never sit in front of the guard blade.
This technique takes practice to master. You may need several attempts to get it right. Keep your work area well-lit and your tools clean. Rushing the process risks a bad cut or an injured client. Most professional tools from Wahl and Andis support this adjustment.
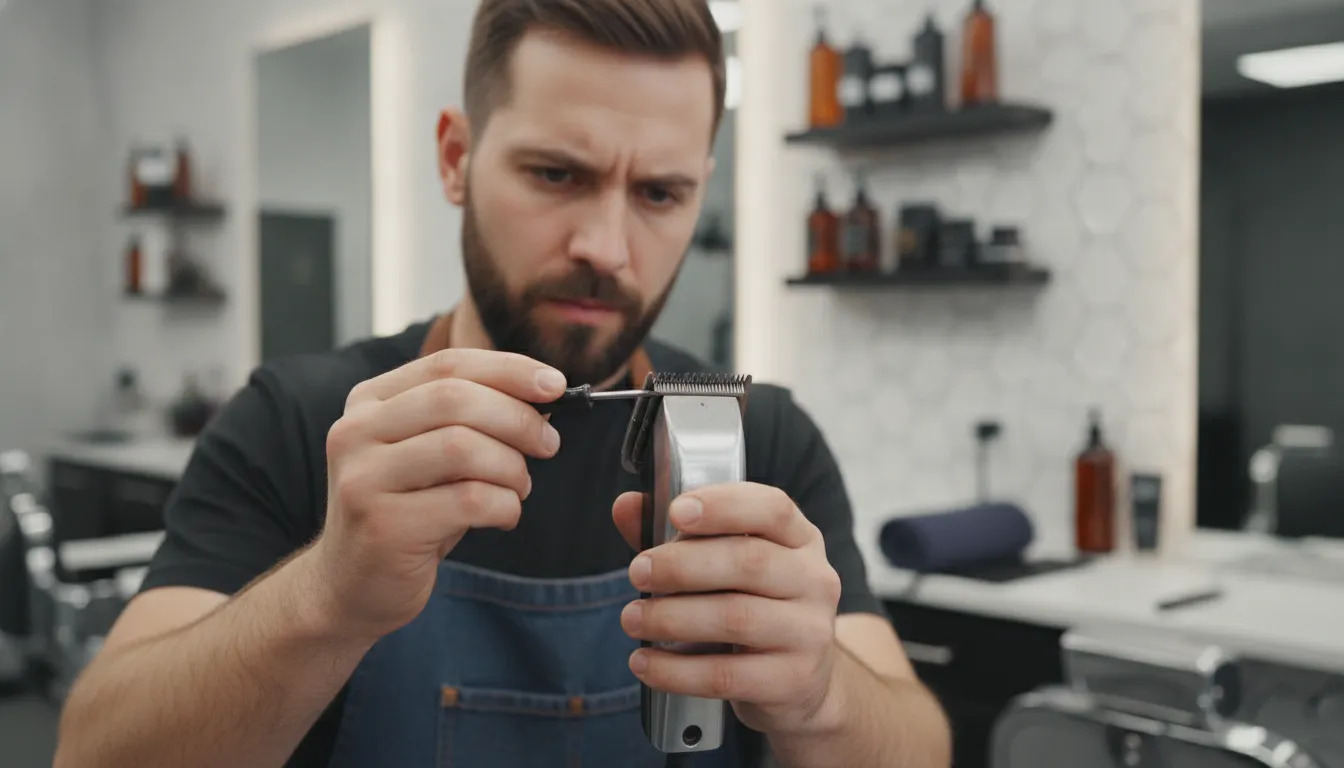
Before you start, clear your work area and ensure you have bright lighting. You will need a small screwdriver and a stiff brush. It is essential to clean your hair clippers before adjusting the gap. Any hair or debris trapped between the blades can throw off your alignment.
Inspect the blades for chips or bent teeth. If a blade is worn or damaged, replace it before attempting zero gapping. Trying to set a compromised blade will not fix the problem and may increase the risk of pulling hair or cutting skin. Work on a flat, stable surface to keep the blades aligned.
Check the blade alignment one final time under bright light. If you see even a tiny overlap where the cutting blade protrudes past the guard, start over. A blade that hangs over the edge can cut or irritate the skin. Being precise is the key to a great fade.
Always test the blade on your own skin before using it on a client. If it feels sharp or bites the skin, the gap is too tight. Take the time to get it right. Once you have a safe zero gap, you will see how much easier it is to blend hair and create sharp shapes. Your work will look better, and your tools will last longer with this level of care.
Most professional hair clippers from major brands allow some level of blade adjustment. However, the process and tools vary between manufacturers. Knowing the specific requirements of each brand prevents damage to your equipment and keeps your clients safe.
Wahl is a staple in many barbershops, and most of their professional models support zero-gapping. Popular tools like the Wahl Magic Clip and Senior are designed for precise blade adjustment. The Super Taper, Legend, and Detailer models also respond well to this modification.
Not every Wahl clipper works the same way. The Wahl 1919 uses a three-hole blade slide that prevents a true zero-gap setup with stock parts. To achieve an ultra-close cut on these models, you need a two-hole blade slide to replace the factory part. Find replacement blade slides and other parts at BuyBarber to make your tools more versatile.
Andis and BaBylissPRO are popular choices for high-end fades and crisp lines. Most Andis models, including the T-Outliner and Master, support zero-gapping easily. These tools are often the preferred choice for beard trims and neckline detail. BaBylissPRO goes a step further by providing dedicated alignment tools for some models. The BaBylissPRO T45 trimmer includes a specialized tool to set the gap perfectly without guesswork.
StyleCraft follows this trend by including adjustment tools with new clippers. The StyleCraft Saber trimmer ships with its own zero-gap tool for fast, safe setup. Whether you use Andis or BaBylissPRO clippers, having the right gear makes the job much easier.
| Brand | Supported Models | Adjustment Notes |
|---|---|---|
| Wahl | Magic Clip, Senior, Legend | Most use a 2-hole slide; 1919 needs a part swap. |
| Andis | T-Outliner, Master | Most models support easy manual adjustment. |
| BaBylissPRO | T45, FX Series | Often includes a dedicated zero-gap alignment tool. |
| StyleCraft | Saber, Instinct | Frequently ships with custom gap-setting tools. |
| Oster | Fast Feed | Supports adjustment but may need aftermarket blades. |
Barbers who need new tools can find a wide selection of professional clippers that support these custom settings. Always check the blade slide on your specific model before starting the adjustment process.
Once you finish the adjustment, you must confirm the tool is safe to use. Skilled barbering requires high precision, but safety always comes first. The guiding principle is safe exposure, not maximum exposure. A small slip can lead to a bad outcome for your client.
Start with a close visual inspection of the teeth. The moving cutting blade must sit just behind the stationary guard blade. If the cutting blade extends even 0.1mm past the guard, it will scratch or nick the skin. Make sure the teeth are flush or slightly set back before turning the power on.
Never test a newly adjusted tool on a client first. Turn the clippers on and gently tap the moving blades against the inside of your own forearm. This area has thin skin similar to the scalp and neck. If the tool feels sharp or leaves a red mark, the gap is too tight. Loosen the screws and reset the blade position. For best results, use a clean, well-maintained tool with fresh oil.
The sound of the motor can indicate whether the blades are too tight. A motor that sounds strained or gets hot quickly often means the blades are pressing too hard against each other. The motor should run smooth and steady. If the sound changes after adjustment, loosen the screws slightly and add more blade oil.
When learning how to adjust hair clippers for a close cut, it is easy to make errors. Most barbers want the sharpest possible line, but chasing that goal without discipline leads to safety risks. Avoiding these common mistakes will keep your tools running well and your clients safe from nicks.
The most common mistake is pushing the moving blade too far forward. Even a 0.1mm overlap past the guard blade will scratch or nick the skin. The golden rule is to seek safe exposure, not maximum exposure. If the blades overlap, the clipper can cut the client's skin because the sharp teeth make direct contact with the scalp.
Always keep the cutting blade a fraction of a millimeter behind the guard blade. This ensures the tool cuts hair without biting into the scalp. A safe setup produces a crisp fade while keeping the client comfortable throughout the service.
Many barbers forget to clean barber clippers before starting the adjustment. Small bits of hair trapped between the blades can throw off your alignment. Brush away all debris so you can see the true edge of both blades before loosening any screws.
Another common error is tightening one screw completely while the other remains loose. This causes the blade to shift or tilt to one side. Tighten each screw a little at a time, alternating between them. This keeps the alignment straight and prevents the blade from sliding into a dangerous overlap position.
A rushed adjustment often leads to skipping the oiling and safety test. You must oil barber clippers after every adjustment to reduce friction and heat. Excessive friction on a tight zero-gap can wear down the motor or burn the client. Add a few drops of oil and run the tool for 20 seconds to coat the moving parts.
Finally, never use a newly adjusted setup on a client without a forearm test. Tap the running teeth against the inside of your own arm to check for any sharp spots. If it feels rough on your skin, it will be worse on your client. You can find high-quality professional clippers and parts at BuyBarber to ensure you have the right gear for a safe zero-gap.
Shop Professional Clippers Now → Upgrade your gear for cleaner fades and sharper lineups.
Most professional clippers from brands like Wahl, Andis, and BaBylissPRO can be zero gapped. Some models may need a part swap. For instance, tools with three-hole blade slides often need a two-hole slide to reach a true zero gap. Always check your specific tool before attempting to adjust the blades.
Most manufacturers view blade adjustment as standard maintenance rather than a modification. However, if you damage the tool while adjusting the blades, that damage may not be covered. Always follow the instructions in your user manual. If you are unsure, a professional repair shop can set the blades for you.
Check the blade gap every time you clean or oil your clippers. Blades can shift if you drop the tool or if screws loosen from vibration during use. A quick forearm test ensures the cutting blade has not moved past the guard. Daily checks are part of professional barbering.
Zero gapping is safe for most skin types when done correctly. The goal is safe exposure rather than maximum exposure. A blade that sits too far forward will scratch and irritate the skin. Always test the clippers on your own arm before using them on a client to confirm a smooth finish.
Using worn or misaligned blades compromises your work and risks client discomfort. The right tools make the difference between an average fade and an exceptional one. Do not let outdated gear hold you back from delivering your best work.
Shop Professional Clippers → Find the right clippers, blades, and maintenance supplies for precise zero-gap setups at BuyBarber. Free shipping on orders over $50 and a 365-day return policy.


